In this article we will show you how to control the onboard LED of the Pico W using a Web Server.

PICO-W
Code
At the most basic we simply create a html web page which will be served up when an IP address is assigned
We then supply 2 links, one to switch the on board LED on and one to switch it off. There is also debug in the shell, in my case Thonny which is useful for showing the assigned IP address and other debug
Again change the following to match your own Wifi setup
ssid = ‘wifi name here’
password = ‘wifi password here’
import network
import socket
import time
import machine

from machine import Pin

picoled = machine.Pin("LED", machine.Pin.OUT)

ssid = 'wifi name here'
password = 'wifi password here'

wlan = network.WLAN(network.STA_IF)
wlan.active(True)
wlan.connect(ssid, password)

html = """<!DOCTYPE html>
    <html>
        <head> <title>Pico W LED toggle</title> </head>
        <body> <h1>Pico W LED toggle</h1>
            <p>PICO W LED toggle</p>
            <p>
            <a href='/light/on'>Turn Light On</a>
            </p>
            <p>
            <a href='/light/off'>Turn Light Off</a>
            </p>
            <br>
        </body>
    </html>
"""

# Try and connect
max_retries = 10
while max_retries > 0:
    if wlan.status() < 0 or wlan.status() >= 3:
        break
    max_retries -= 1
    print('waiting for a connection...')
    time.sleep(1)

# Handle connection error
if wlan.status() != 3:
    raise RuntimeError('network connection failed')
else:
    print('connected')
    status = wlan.ifconfig()
    print( 'ip = ' + status[0] )

# Open socket
myaddress = socket.getaddrinfo('0.0.0.0', 80)[0][-1]

mysocket = socket.socket()
mysocket.bind(myaddress)
mysocket.listen(1)

print('listening on', myaddress)

ledstate = ""

# Listen for connections
while True:
    try:
        myclient, myaddress = mysocket.accept()
        print('client connected from', myaddress)

        request = myclient.recv(1024)
        print(request)

        request = str(request)
        led_on = request.find('/light/on')
        led_off = request.find('/light/off')
        print( 'led on = ' + str(led_on))
        print( 'led off = ' + str(led_off))

        if led_on == 6:
            print("led is on")
            picoled.value(1)
            ledstate = "LED is ON"

        if led_off == 6:
            print("led is off")
            picoled.value(0)
            ledstate = "LED is OFF"

        response = html + ledstate

        myclient.send('HTTP/1.0 200 OK\r\nContent-type: text/html\r\n\r\n')
        myclient.send(response)
        myclient.close()

    except OSError as e:
        myclient.close()
        print('connection closed')
Now run the code and look at the shell window to get your IP address
This is what I saw
waiting for a connection...
waiting for a connection...
waiting for a connection...
connected
Your ip address = 192.168.1.188
listening on ('0.0.0.0', 80)
Now using your favorite web browser visit that web page and you should see something like this
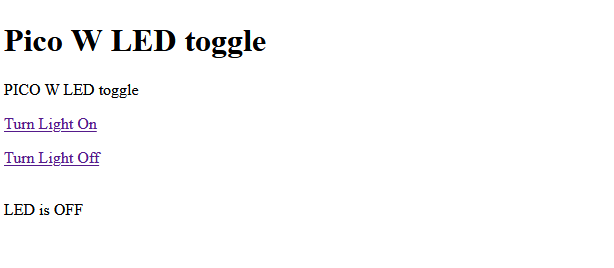
Click on the links and you can toggle the led on and off , if you like at the thonny shell there is debug
You can create buttons instead of links